A leaking chimney can cause significant damage to both the interior and exterior of a property if not addressed promptly. Water infiltration can lead to damp patches, mould growth, and even structural deterioration. Understanding the causes of chimney leaks and how to fix them can help homeowners maintain the integrity of their roofing system and prevent costly repairs.
Common Causes of Chimney Leaks
Damaged Flashing
Flashing is the metal seal that connects the chimney to the roof. Over time, it can corrode, crack, or lift due to weather exposure, allowing water to seep into the gaps.
Worn or Cracked Mortar
Chimney mortar can degrade due to continuous exposure to rain, frost, and temperature changes. Cracks in the mortar joints create openings where water can penetrate, leading to internal damage.
Faulty or Missing Chimney Cap
A chimney cap prevents rainwater, debris, and animals from entering the chimney. If it is damaged or missing, water can flow directly into the chimney stack and seep into the surrounding structure.
Porous Chimney Bricks
Older chimneys constructed with traditional bricks may absorb moisture, especially if they lack a protective waterproof sealant. Over time, this can lead to damp problems inside the home.
How to Fix a Leaking Chimney
1. Inspect the Chimney for Visible Damage
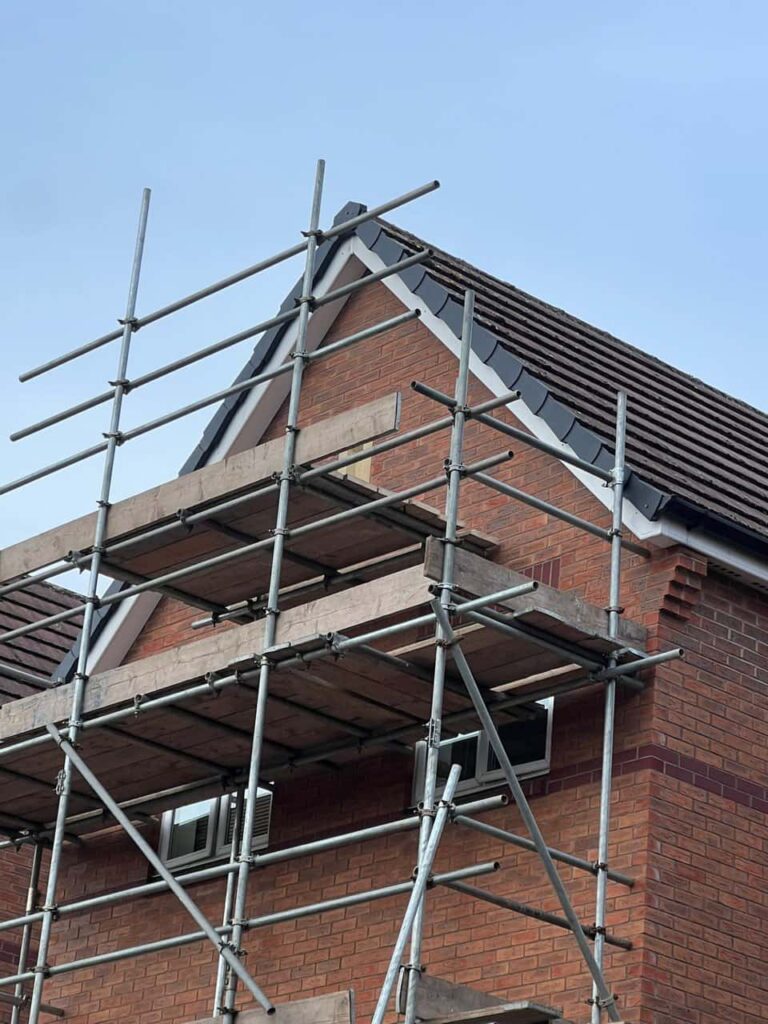
A thorough inspection is the first step in identifying the source of the leak. Look for cracked mortar, damaged flashing, and signs of water ingress around the chimney breast inside the property.
2. Repair or Replace Flashing
If the flashing is cracked, corroded, or lifting, it will need to be resealed or replaced. A professional roofer can install new lead flashing to ensure a watertight seal between the chimney and the roof.
3. Repoint the Mortar Joints
If mortar deterioration is evident, repointing the joints can restore the chimney’s structural integrity. This involves removing damaged mortar and replacing it with a fresh, weather-resistant mix.
4. Install or Replace a Chimney Cap
A high-quality chimney cap prevents direct water entry and protects against blockages caused by leaves or nesting birds. Ensuring the cap is securely fitted will help keep the chimney dry.
5. Apply a Chimney Waterproof Sealant
For older chimneys with porous bricks, applying a breathable waterproof sealant can help repel moisture while allowing trapped vapour to escape. This prevents water absorption without compromising the chimney’s ventilation.
Preventing Future Chimney Leaks
Schedule Regular Inspections
Annual chimney inspections can help identify minor issues before they escalate into major problems. A professional roofing specialist can check for signs of wear and recommend necessary maintenance.
Keep Gutters and Downpipes Clear
Blocked gutters can cause water to pool around the chimney base, increasing the risk of leaks. Regularly cleaning gutters and ensuring proper drainage will help protect the chimney and roof.
Monitor for Early Signs of Water Damage
Damp patches, musty odours, or peeling paint near the chimney breast can indicate moisture infiltration. Addressing these issues early can prevent more extensive damage.
Conclusion
Fixing a leaking chimney requires prompt action to prevent water damage and maintain the structural integrity of the roof. By addressing flashing issues, repointing mortar, and installing a chimney cap, homeowners can protect their property from further deterioration.
If you suspect a chimney leak in Hook, professional roofing services can provide expert inspections and repairs. Contact us today to ensure your chimney remains weatherproof and secure.
Call us on: 01256 648 399
Click here to find out more about MCM Roofing Repairs Hook
Click here to complete our contact form and see how we can help with your Roofing needs.